


I’m nearing the end of my Ravelry Knitting Olympics. I was on two different teams. Team WIPs 2010, with two projects for WIPs – dancing was the first. Sadly, I will not medal in either project for this event.
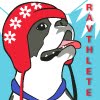
However, for Team Tardis, I’ve medaled in four events with a total of five projects! I also have three entries for frogging old projects. The first is an old, unknown garter stitch type thing. I have no idea what it was supposed to be, so it clearly had to be frogged.
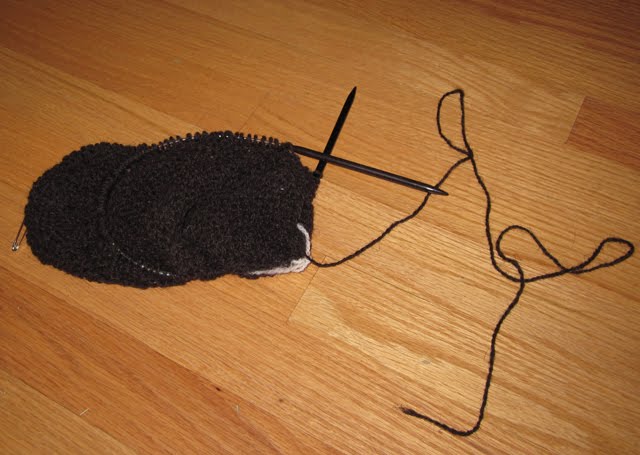
The second frogging project was my Brown Dragon Shawl. After I discovered that I was twisting stitches in one section and knitting the same row twice elsewhere, it was clear that I had to start over. I frogged it without remorse, deciding that I needed a better way to keep the pattern in front of me in the future.
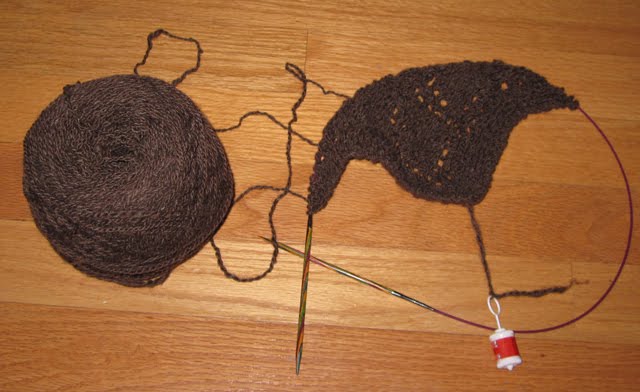
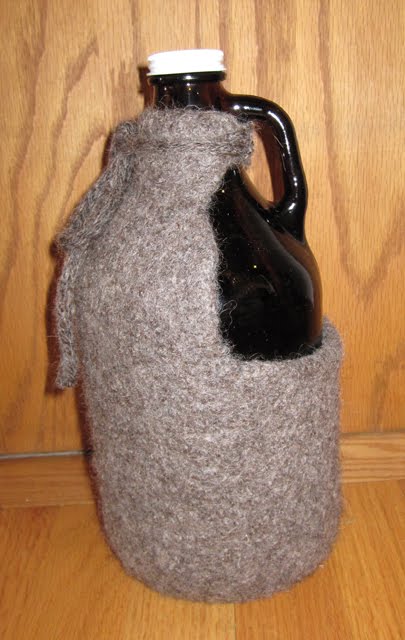
The last one was my Growler Cozy Rev 2. The bottom section did not felt at all, so I had to rip it back and try to pick up from filled stitches.
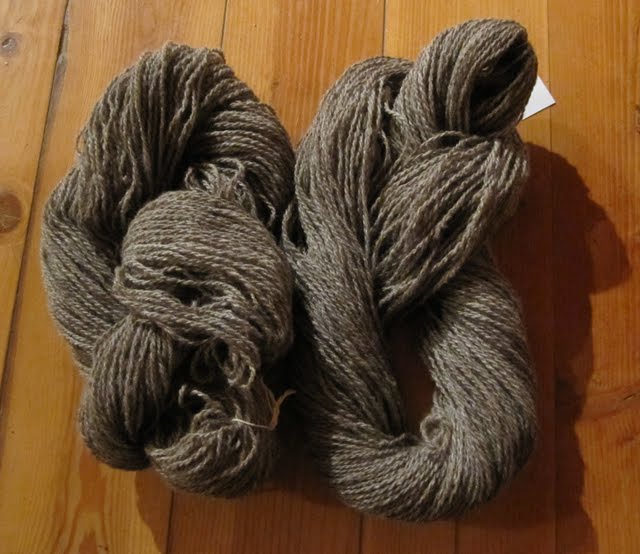
Another event I entered was the Flying Camel Spin. I had a bunch of roving from one of our sheep, Brownie, from 2006. This was her last fleece, and I really wanted to spin it all. I managed to get most of it done – 470 yards’ worth – for my entry.
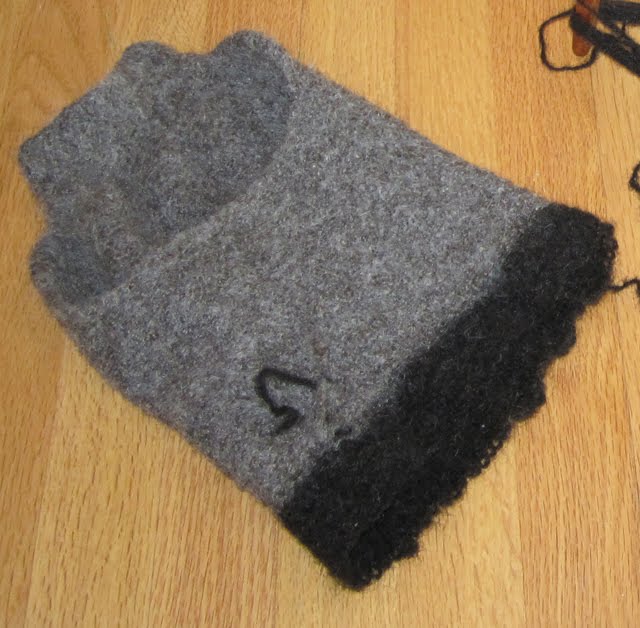
The final two events I entered were the Designer Pattern Skeleton and the Felting Freestyle with my modified Growler Cozy pattern. I managed to get them done in just two days!
Here is the pattern.
Growler Cozy Pattern
Sized to fit a US standard 64-ounce glass growler.
I used a very soft 24 WPI, 2-ply that felts well, plus size six or ten millimeter needles. You need a circular or two-and-some DPNs, plus a tapestry needle.
My swatch started out as a stockinette swatch, with a two-stitch garter stitch border. Un-fulled, it was six inches from top to bottom, and 30 stitches, or 6.5 inches, between borders. The swatch was a total of seven inches in height.
After fulling, it was four inches high and 4.75 inches wide between borders. If your yarn fulls differently, you may need to adjust the number of stitches for your cozy.
- CO 28 stitches
- P the first row, then continue in stockinette until it measures 3.5 inches long.
- K1 Kfb (knit in front and back) to end.
- P
- K
- P
- * K1 then KFB * repeat between * to end. You should have 82 stitches.
- P
- K
- Continue alternating P and K rows until this section is 3.5 inches long.
- Set up to do a P row, but instead:
- Cable cast on 30-31 more stitches.
- Place Marker, join, and knit in the round.
- Continue to knit in the round until the body is 11-11.5 inches long or so.
- Base
- Rnd 1 K2tog around
- Rnd 2 Knit
- Rnd 3 Knit
- Rnd 4 and all further rounds
- K2tog K1
- Just keep doing that all around, switching to double points as required, and moving the marker as required. Or, remove the marker entirely until you have four or five stitches left.
- Thread the yarn through the last four or five stitches and weave in all ends.
- Make two I-Cord strings, each about 15 inches long, leaving a ten-inch tail on the cast-off end.
- Using a tapestry needle, take the long tail and pull the I-Cord through the top edge of the cozy. It’s easiest to do this before felting, but it can be done later. Take care not to cut the yarns. Sew the end back to the I-Cord using the tail end of the yarn. Doing it this way means you can replace the cord when it gets worn or breaks.
- Full the fabric until it fits the growler. Stretch over a growler while wet, and pin the top together with a safety pin.
- Once it’s dry, you can use the ties to tie up the top!